Nothing Says Love like Homemade Oreos
/When February rolls around, you start to see all the red and pink heart-shaped goodies at the grocery store and pretty much everywhere else. Believe it or not even at J.Crew they had everything from heart socks to heart jewelry dishes to heart-shaped cookie cutters - yes, cookie cutters at J.Crew. While I'm not the biggest fan of all things red and pink, I'm a sucker for heart-shaped foods. One time I saw a picture of heart-shaped sunny side up eggs and almost lost it.
I was on Pinterest trying to get some ideas for Valentine's day themed desserts when I saw Julie Blanner's red velvet sandwich cookies. They were gorgeous! Although, I must say I've never been crazy about red velvet - why have one tablespoon of cocoa when you can have six? I much prefer the full on chocolate flavor as opposed to just the slight hint of cocoa and what could be better than a homemade version of a childhood favorite? Luckily, Julie also had a recipe for the classic chocolate sandwich cookies, which can also be cut into cute little heart shapes.
Ingredients
Cookie:
- 1/2 cup unsalted butter, room temperature
- 1/2 cup sugar
- 1 tsp. vanilla
- 1 cup flour, sifted
- 6 tbsp. cocoa
- 3/4 tsp. baking powder
- 1/2 tsp. salt
Filling:
- 1/2 cup butter, room temperature
- 2 tbsp. half & half
- 1 tsp. vanilla
- 3 cups powdered sugar
I used Guittard Cocoa Rouge cocoa powder for the first time with this recipe. I read lots of great things about it and was able to find it at my local Sur La Table. Baking with cocoa is fairly new to me, but this turned out even better than I expected.
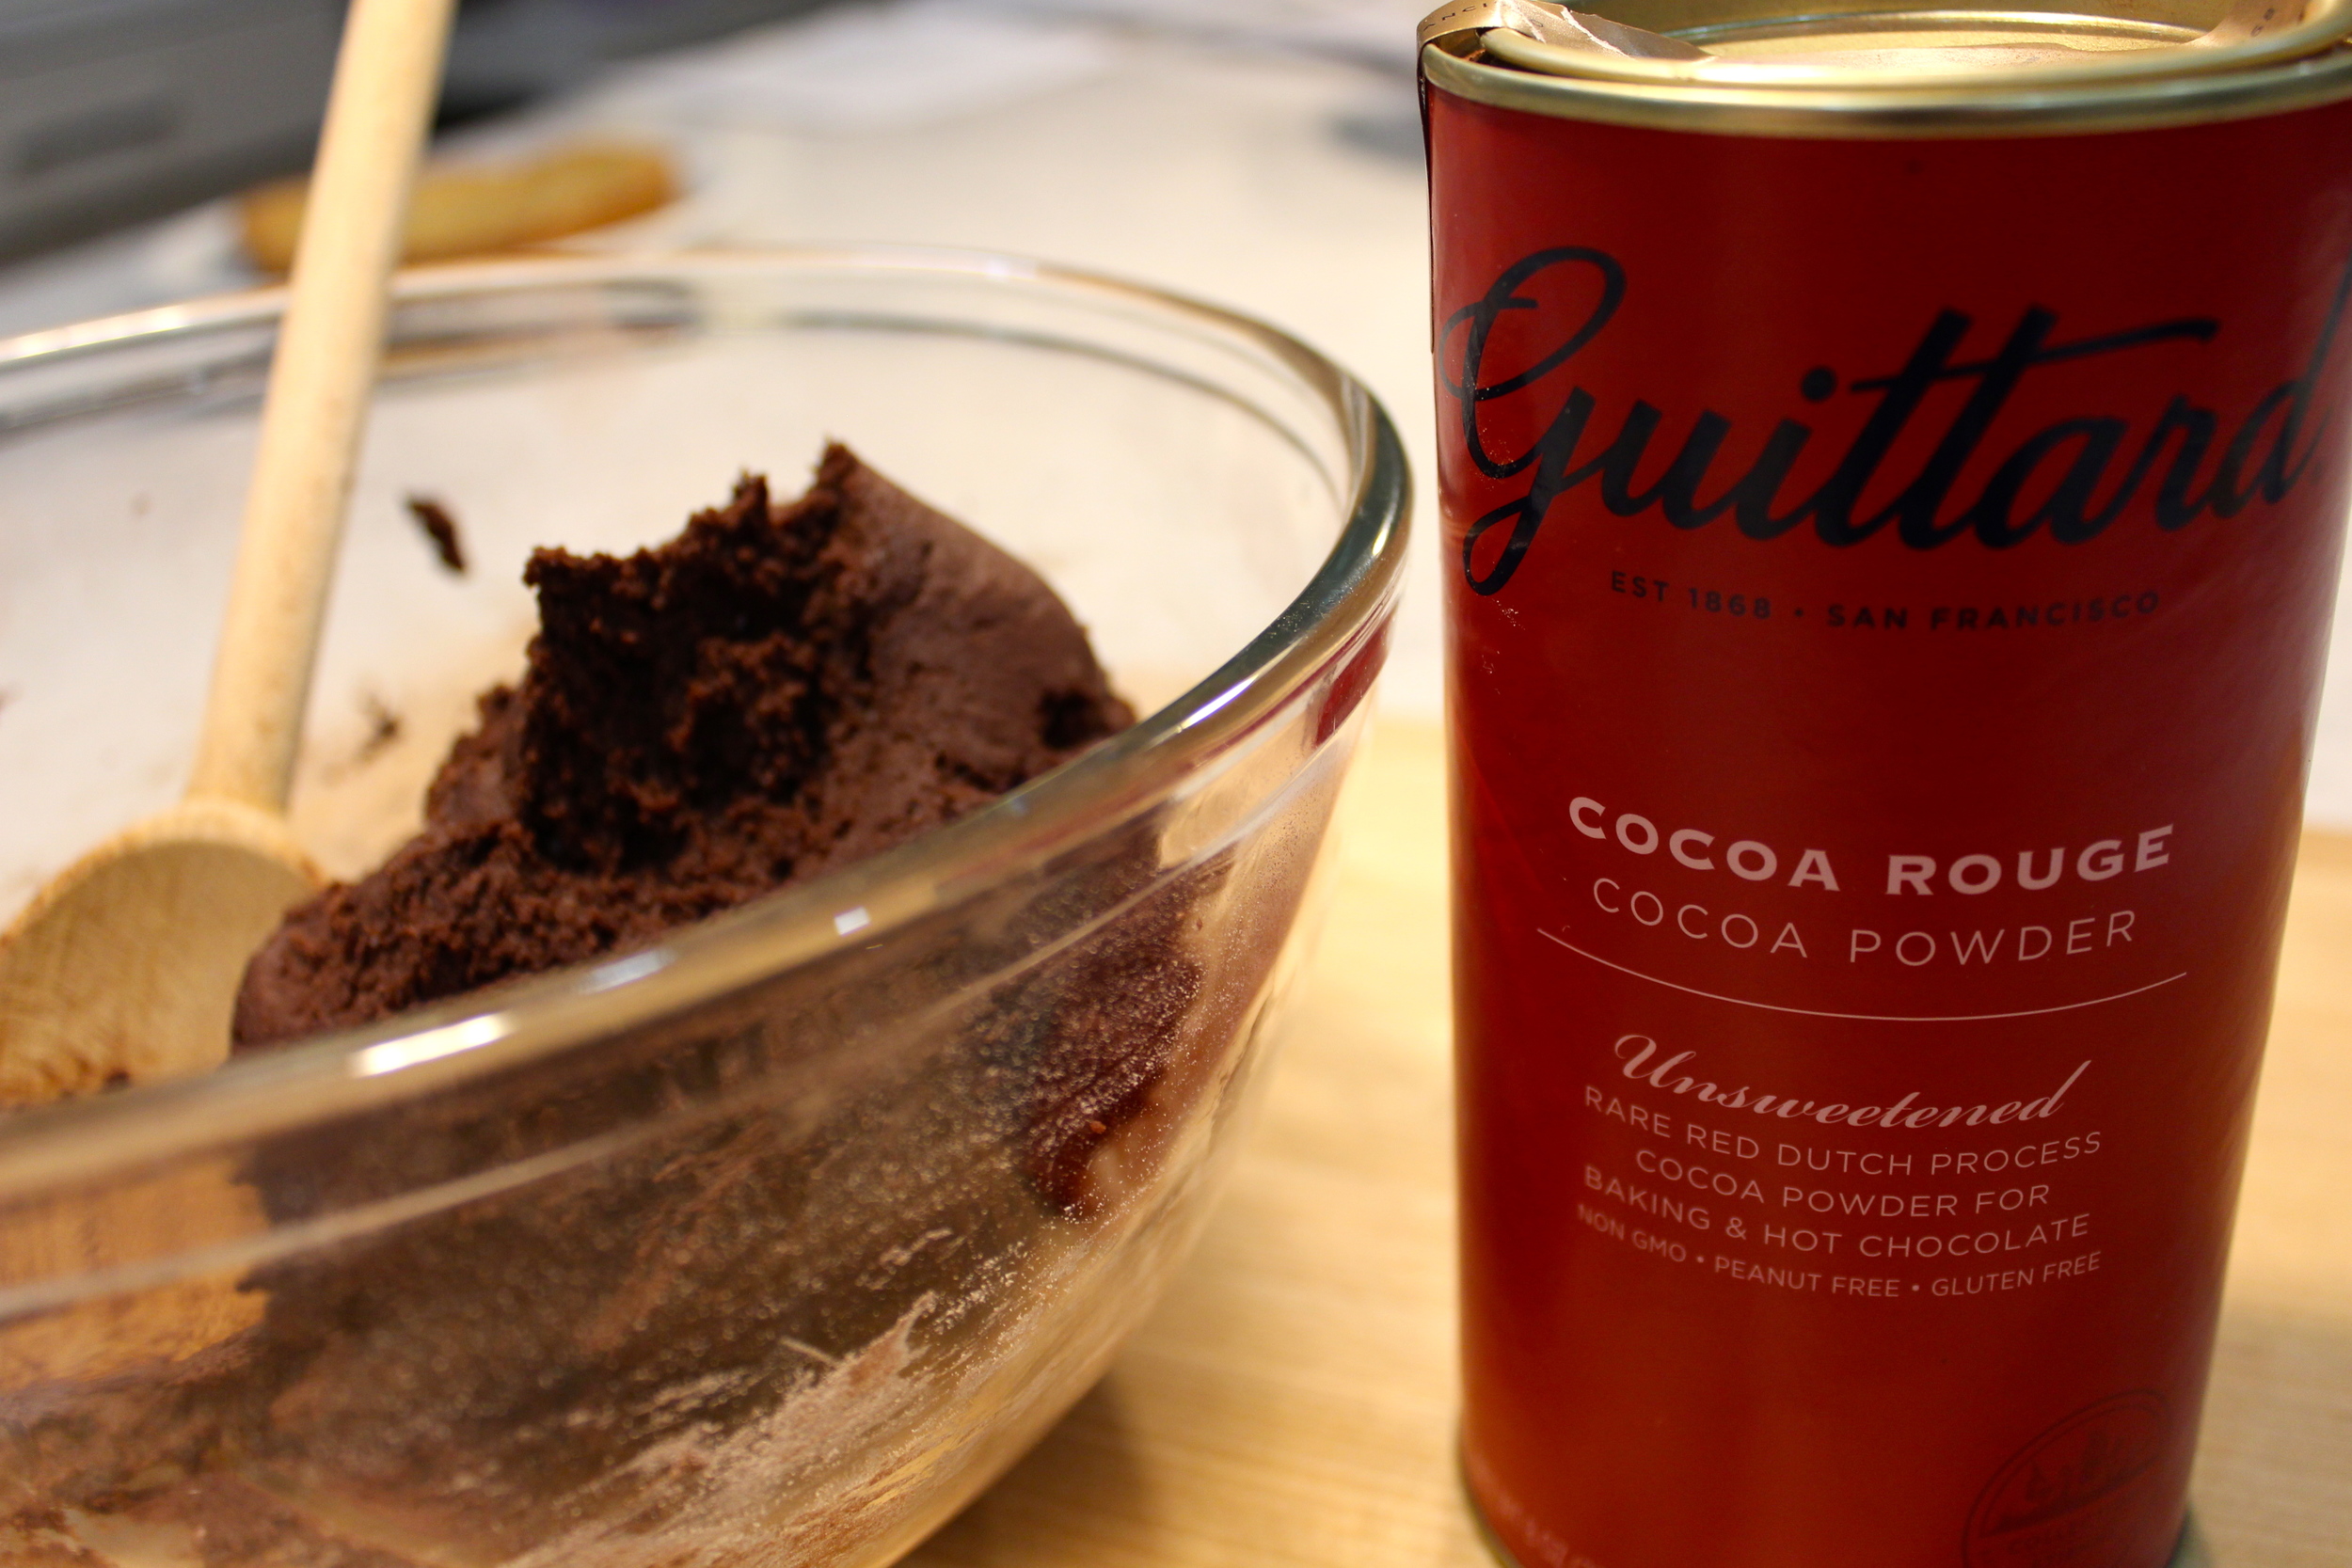
- Whisk together the butter, eggs, vanilla, and sugar. Combine flour, cocoa powder, baking powder, and salt in a separate bowl. Add dry flour mixture to the butter mixture and mix with a wooden spoon. The dough comes together pretty quickly.
- You'll want to wrap the ball of dough in saran wrap and stick it in the refrigerator for 1-2 hours since it is sticky and would be difficult to roll out. [It was below freezing over here on the East Coast so I stuck my dough outside for a little less than an hour]
- While your dough is chilling, combine all the ingredients for the filling and mix until smooth. Set aside.
- Preheat oven to 325 degrees.
- Roll out the dough directly on the parchment paper or aluminum foil you're going to bake on because after you cut out the cookies, you can peel away the excess dough. That way you won't have to disturb the cut outs by transferring them. Since this dough doesn't puff up very much, roll out to the thickness you would expect the cookies to be.
*If your dough sticks to the rolling pin, flour both the pin and the dough. If it's not sticky, go ahead and cut with your cutters after you roll it out. My dough was sticking to the cutters so I stuck the sheet in the refrigerator for about 10 minutes prior to cutting out the cookies. - Bake for exactly 8 minutes. Transfer to wire rack and let cool completely.
- After the cookies have cooled, pipe the filling onto the cookies using a pastry bag and press together to create sandwiches.
*If you don't have a pastry bag, you can use a sandwich ziploc bag and cut off one of the bottom corners.


What I really love about these cookies is the cream filling. It's so creamy without being too rich and a little less sweet than the familiar Oreo creme. Not to mention it's the easiest part of this recipe.


All there's left to do now is inhale these bad boys.
Just kidding - kind of.
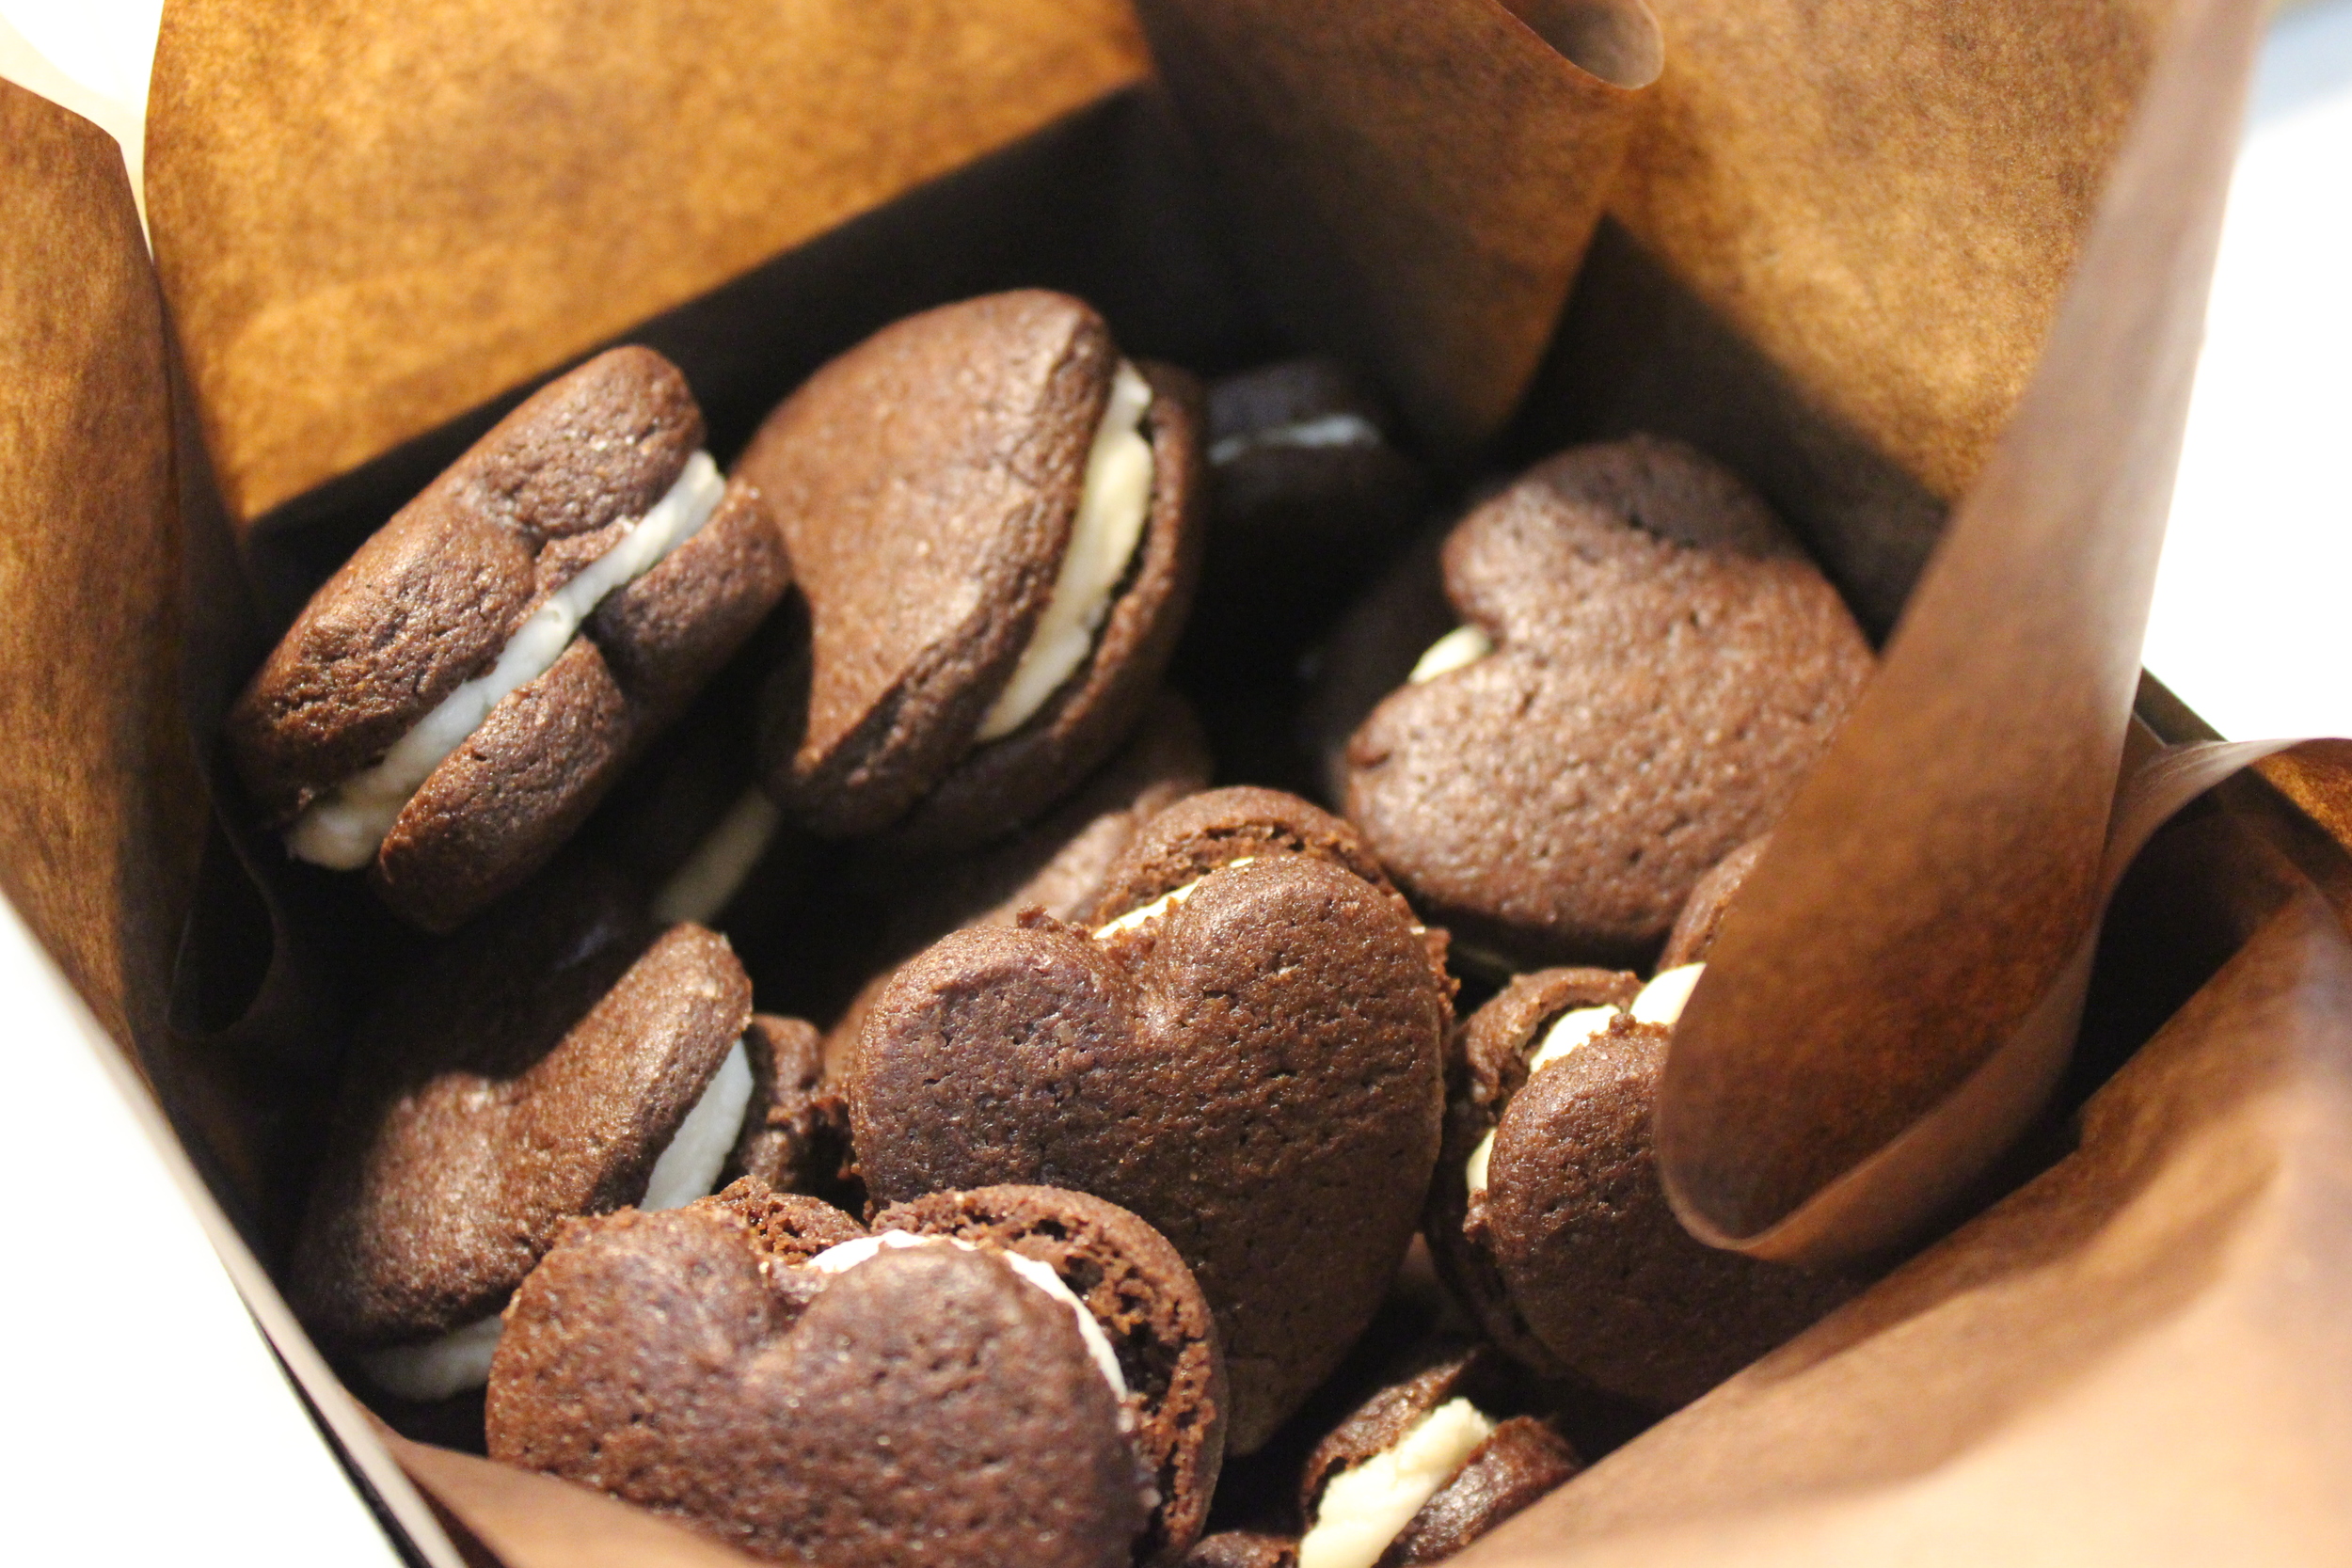
I packaged the survivors in this little brown box with a heart window [from World Market].